B is for bonsai!

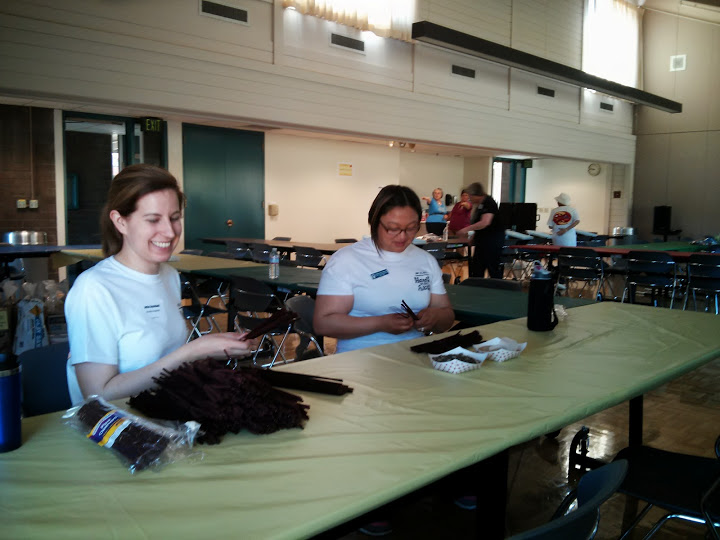
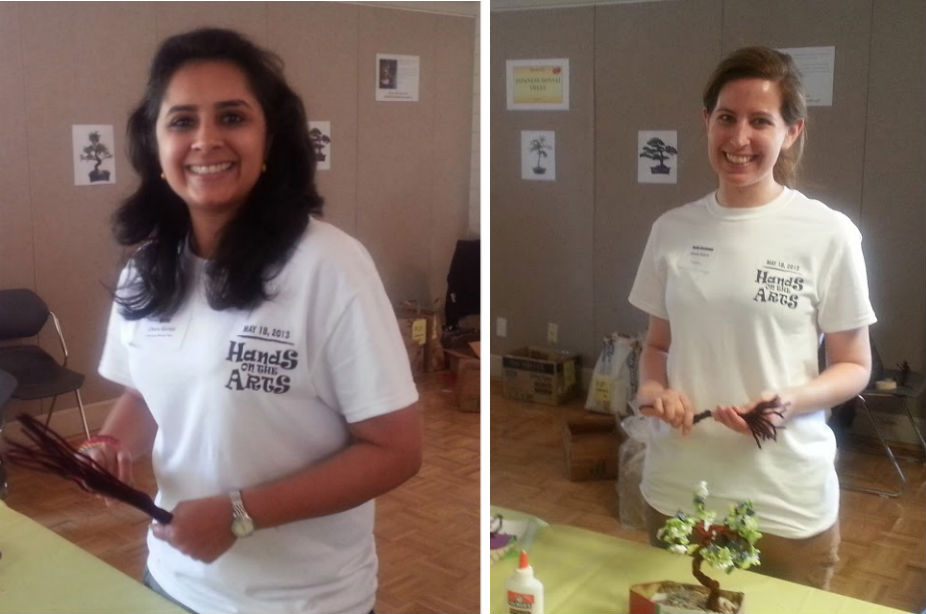
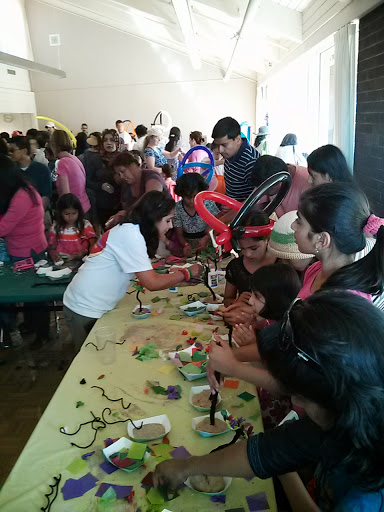
Hands on The Arts has become one of the most anticipated events of the year for me. I guess it’s because it allows me to combine my love for the arts and teaching as a volunteer. Last year I taught hundreds of kids how to create an Indian Clay diya/lamp - which the kids enjoyed so much that we ran out of supplies! This year we made Japanese Bonsai Trees.
Over a thousand people attend this event every year and I love meeting other artists, teachers, kids and parents who value art in their lives as much as I do. At the end of my 7 hour teaching session, I come back exhausted but thoroughly satisfied and full of happy memories!
Materials
If you or any kids you know enjoy creating things with their hands like I do, here is a list of the materials and steps to create your own Bonsai Tree:
Suitable for kids 6 years or older
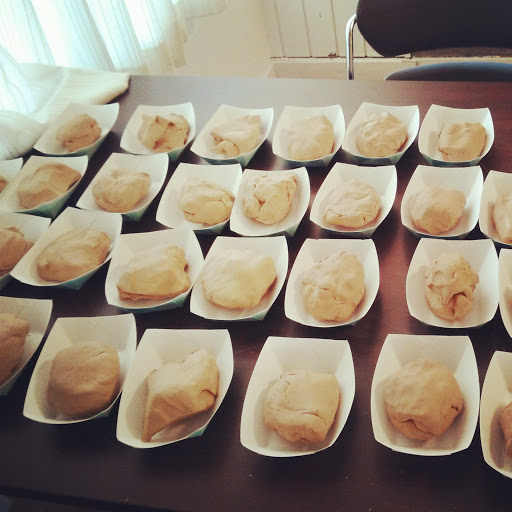
- A medium sized container (we used French fry trays)
- A palm sized ball of clay
- 15 brown pipe cleaners (also known as chenille stems)
- Tissue papers cut into 2 inch squares in various shades of green. (Optional: colored tissue squares can be used for flowers)
- Clear Glue (like Elmer’s)
- Sand
- Some small stones/pebbles
Instructions
1. Insert the ball of clay into your container and flatten it out. This is the base in which you will insert your bonsai tree.

2. Grab the bunch of pipe cleaners and start twisting the middle part leaving an inch at the bottom and about 2 inches at the top untwisted.
3. Fold the loose ends at the bottom of your twisted pipe cleaners upwards and insert this part into the clay. Embed the folded pipe cleaner stems inside the clay using your hands – much like you wood embed the roots of a plant into soil 🙂
4. Once the tree is firmly planted in your container, start twisting the top ends of the pipe cleaners. You can take 2/3 of them at a time, twist them around each other and spread them out like tree branches.
5. After you’ve formed the branches you can gently twist the main tree trunk at the mid-point to give it a natural bonsai appearance.

Here's the fun part
6. Add a line of glue to each branch and stick crumpled tissue paper bits on each one to create leaves and flowers! It took the kids a few tries to stick the leaves on the stems rather than on their own hands, so they may need help here!
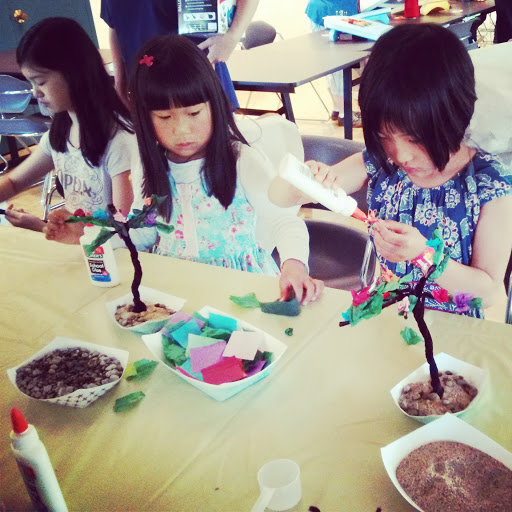
7. Once you’re satisfied with your leaves and flowers, squeeze out some glue onto the clay. Pour sand using a spoon and cover all the glue.
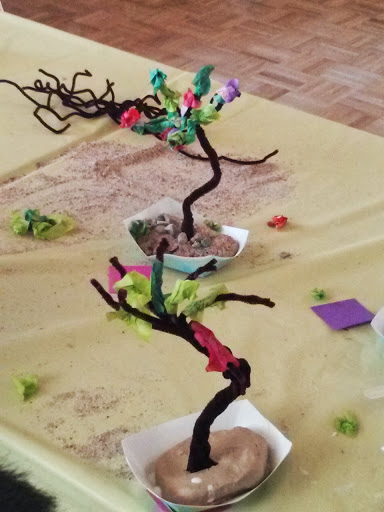
8. Embed a few pebbles into your clay garden and voilà!
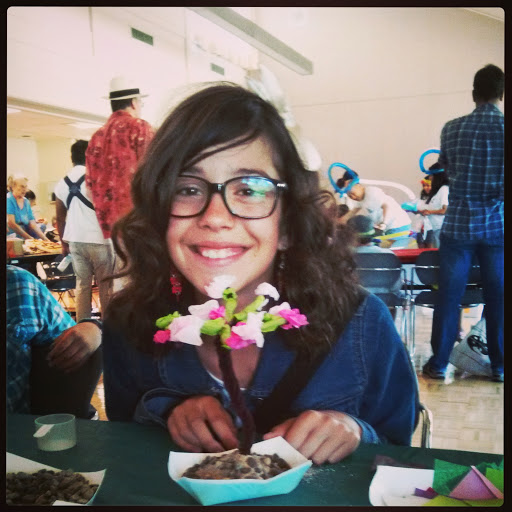
I hope you have as much fun with this as I did 🙂!
.png)
.png)